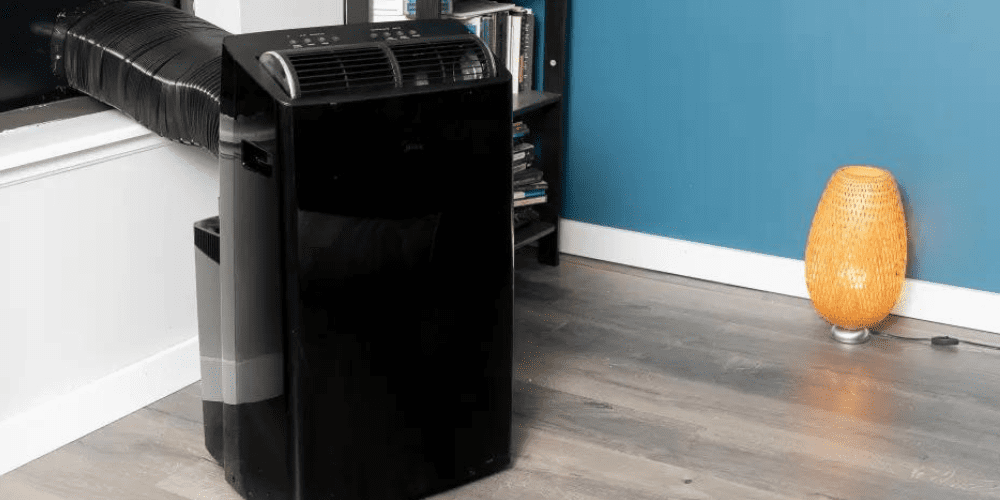
How to Clean Your Indoor Air Conditioner: A Step-by-Step Guide
Maintaining your indoor air conditioner is crucial for ensuring efficient performance, prolonging the unit’s lifespan, and maintaining healthy indoor air quality. Over time, air conditioners accumulate dust, mold, and other debris, which can affect their efficiency and the quality of the air they circulate. Here’s a comprehensive guide to cleaning your indoor air conditioner.
Safety First
Before starting any maintenance work on your air conditioner, ensure your safety. Turn off the air conditioner and unplug it from the power source. If it’s a central unit, turn off the breaker that supplies electricity to the air conditioner. Wear gloves and a mask to protect yourself from dust and debris.
Gather Necessary Tools and Materials
To clean your indoor air conditioner, you will need a screwdriver, a soft brush or cloth, a vacuum cleaner with a brush attachment, a fin comb (optional), mild detergent or specialized AC coil cleaner, a spray bottle, water, a bucket, a compressed air canister (optional), and a replacement filter if needed.
Clean or Replace the Air Filters
The air filter is one of the most critical components to clean regularly. Locate the filter, usually found behind the front grille of the indoor unit. In some models, it may be at the back or the bottom. Open the grille and carefully remove the filter. Check for dirt, dust, and any signs of damage. For washable filters, rinse the filter with warm water. If it’s particularly dirty, use a mild detergent and let it dry completely before reinstalling. For non-washable filters, use a vacuum cleaner to remove dust. If the filter is too dirty or damaged, replace it with a new one. Once clean and dry, place the filter back into the unit and close the grille.
Clean the Coils
Evaporator and condenser coils are crucial for the cooling process. Dirty coils reduce efficiency and strain the system. Remove the front panel or cover of the air conditioner using a screwdriver to access the coils. Look for dust and dirt buildup. Use a soft brush or cloth to gently remove dust and debris, then use a vacuum cleaner with a brush attachment to remove finer particles. If the coils are heavily soiled, use a specialized AC coil cleaner. Spray the cleaner onto the coils and let it sit for a few minutes before wiping it off with a cloth. If using detergent, spray water from a spray bottle to rinse off the cleaner and dirt. Ensure no excess water enters the electrical components.
Clean the Condensate Drain Line
The condensate drain line can become clogged with algae, mold, and dirt, leading to water leaks. Locate the drain line, usually found at the bottom of the indoor unit, and look for visible blockages or standing water. Use a wet/dry vacuum to suck out any clogs, then pour a mixture of water and a small amount of vinegar through the line to clear any remaining debris and disinfect it. Ensure water flows freely through the line.
Clean the Blower Fan
The blower fan circulates air through the system and can collect dust and dirt. Access the blower fan by further disassembling the unit, referring to your user manual for guidance. Check for dust buildup on the blades. Use a soft brush or cloth to clean the blades, then use a vacuum cleaner to remove finer dust particles. If needed, use compressed air to blow out any stubborn dust.
Clean the Exterior and Surrounding Area
Keeping the exterior of the unit clean and free from obstructions ensures optimal airflow. Use a damp cloth to clean the outer surface of the unit. Ensure there are no obstructions around the air conditioner that could impede airflow, including furniture, curtains, and other objects.
Reassemble the Unit
Once all components are clean and dry, reinstall the blower fan and cover, securely reattach any parts that were removed, and replace the front panel or cover using the screwdriver. Plug the air conditioner back in and turn on the breaker if applicable. Turn on the air conditioner and set it to a cooling mode to check if it operates smoothly. Pay attention to any unusual noises or vibrations and check if the unit is cooling efficiently.
Schedule Regular Maintenance
Regular maintenance is key to the longevity and efficiency of your air conditioner. Inspect and clean the air filter every month, clean the coils, drain line, and blower fan at the start of each cooling season, and schedule an annual inspection and maintenance with a professional HVAC technician to ensure all components are in good condition and operating efficiently.
Conclusion
Cleaning your indoor air conditioner regularly not only ensures optimal performance but also contributes to better indoor air quality and energy efficiency. By following these detailed steps, you can maintain your unit effectively and avoid potential issues that could lead to costly repairs or replacements. Remember, safety is paramount, so always turn off the power before starting any maintenance work and consult your air conditioner’s user manual for specific instructions related to your model. Regular upkeep will ensure a comfortable and healthy living environment throughout the year.